Marco's Pizza The Cookbook Marco's Pizza — The Cookbook
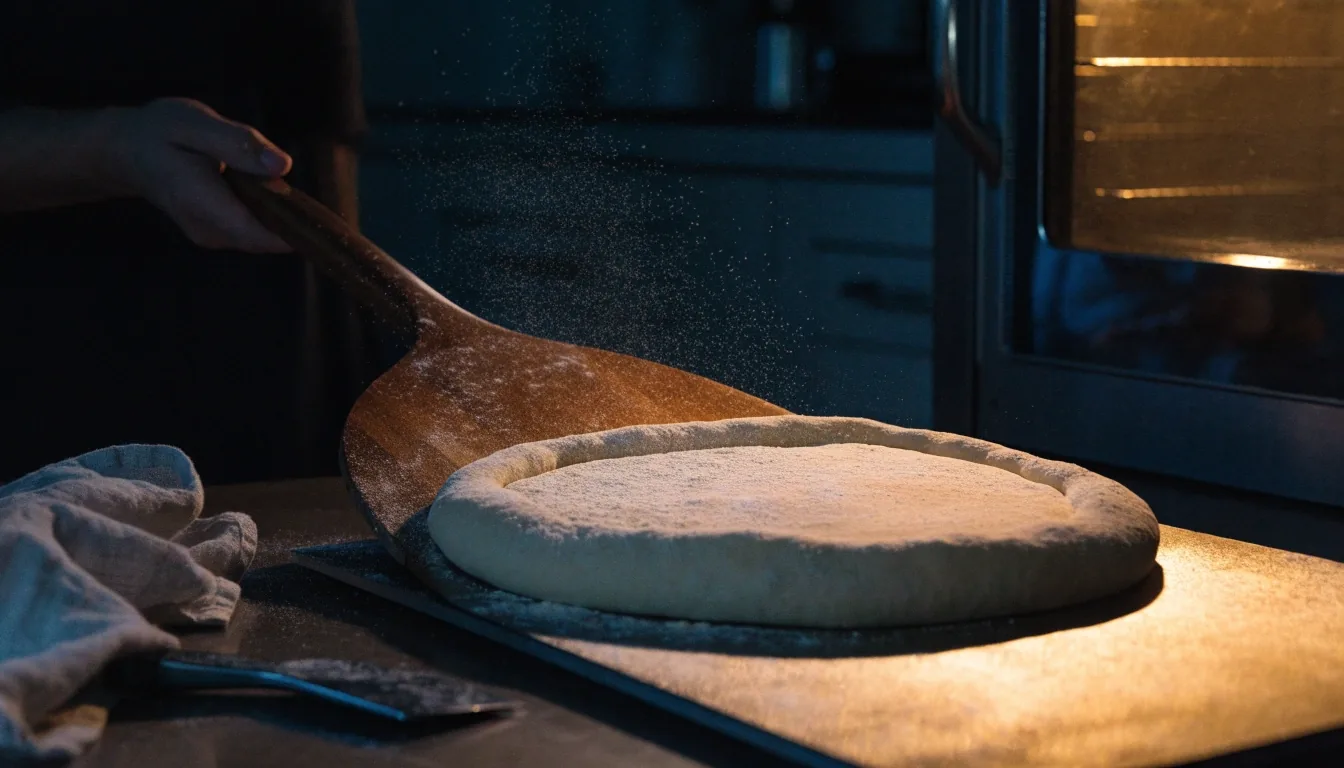
A round of proofed pizza dough resting on a floured dark work surface with a dough scraper at the edge

Dough Fundamentals

Four dough decisions decide your pizza

Hydration, fermentation, cold proof, and shaping are the things that go right or wrong before the pizza ever reaches the oven. This primer is what Marco's Pizza cookbook recipes assume you already know.

Read this first

A practical primer, not a policy page

If you are new to making pizza dough at home, the four chapters below are the ones that matter most. They cover hydration, fermentation, the bulk rise, cold proofing, stretch and fold, shaping, and how to get the best bake your home oven can produce. Read it once before you cook anything from the book, then keep it open on the counter while you work.

Every dough formula in Marco's Pizza recipes is written in weight, not volume, and each one lists its hydration so you can see how the pattern shifts from a Neapolitan round to a Detroit-style pan. The techniques here are the ones that hold true across all of them.

Hydration

Why hydration matters more than any other number

Hydration is the ratio of water to flour by weight. It changes everything about how a dough behaves: how sticky it feels, how fast it ferments, and how open the crumb ends up after the bake.

A lower-hydration dough is easier to handle and more forgiving for beginners. Push the number up and you get a more open crumb and a lighter crust, but the dough is stickier and harder to stretch without tearing. There is no single right number, only the right number for the style you are baking.

The cookbook lists hydration for every dough formula, so you can read across the recipes and see the pattern instead of guessing. A digital scale that reads in grams makes this easy. If you only buy one piece of equipment, buy that one.

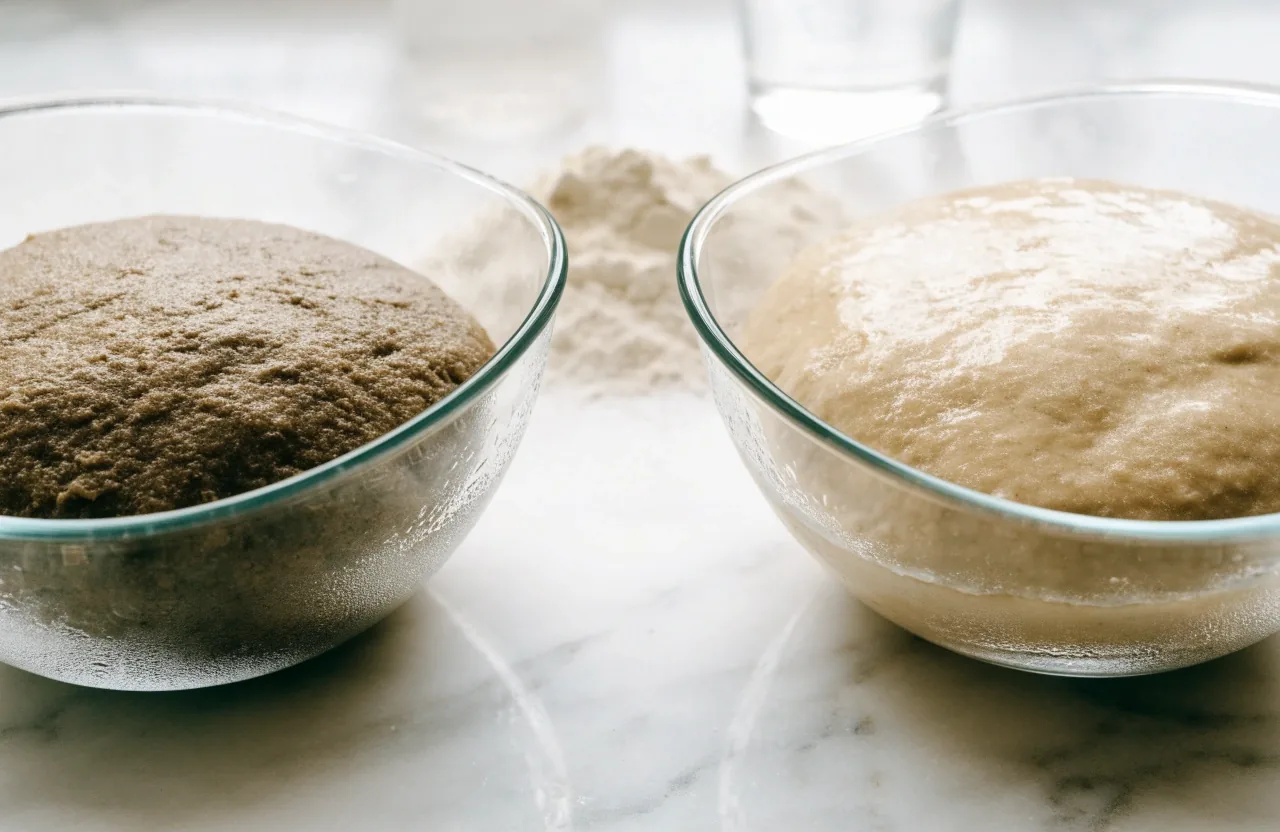
Two bowls of pizza dough at different hydration levels side by side on a marble counter

Lower hydration on the left, higher on the right. The difference is visible before the dough is even stretched.

Fermentation

Flour, water, salt, and yeast do not taste like much on their own. Time does the work.

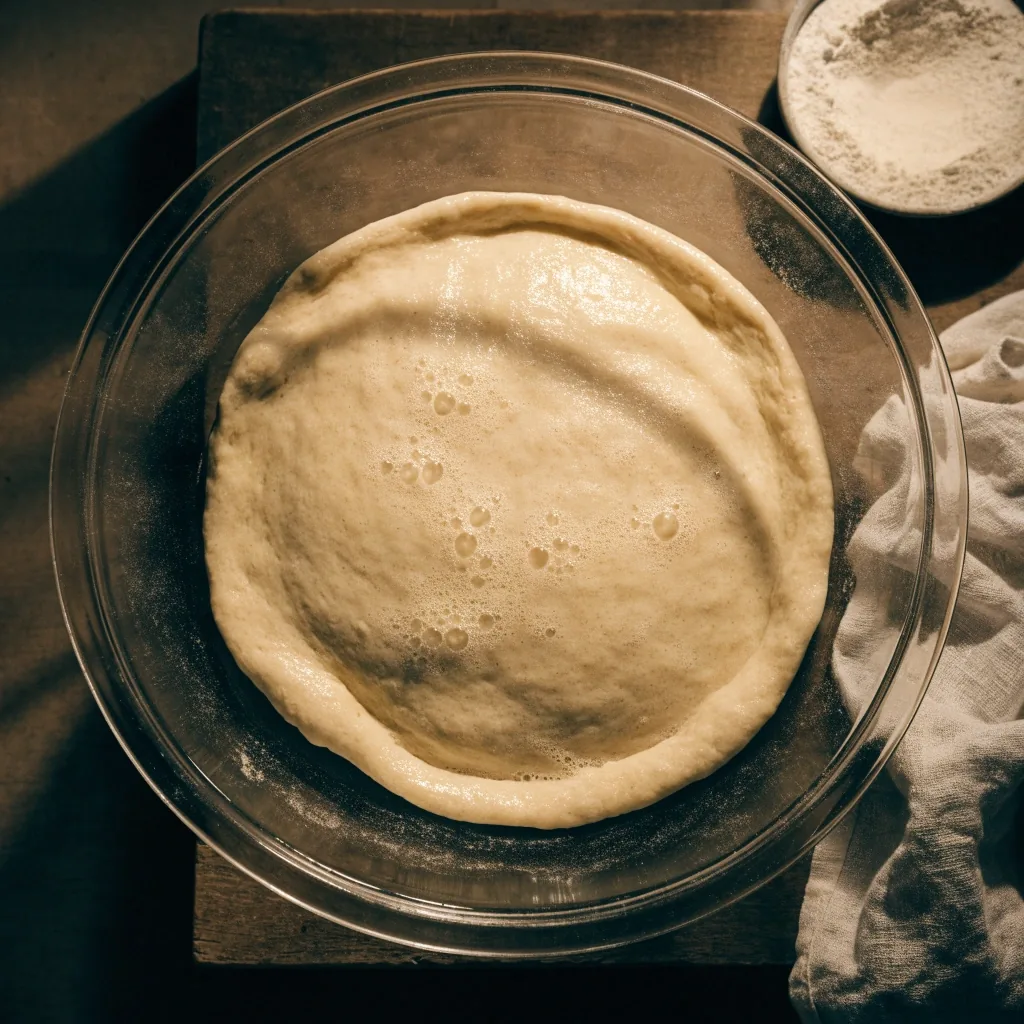
A glass bowl of pizza dough rising slowly with bubbles forming beneath the surface

Fermentation

Fermentation: where flavor actually comes from

During fermentation the yeast produces gas that lifts the dough, and the flour and water start building flavor compounds that no shortcut can imitate. That is the whole story. Everything else is scheduling.

A same-day dough can work. It is perfectly fine for a weeknight. But a dough that ferments slowly in the refrigerator tastes noticeably better, and this is the single biggest upgrade most home cooks can make. If you can start the dough the day before, do.

Salt matters too. It slows fermentation slightly and tightens the gluten, which is why the book's formulas add it at a set percentage rather than to taste. Measure it.

Bulk rise

How to tell when the bulk rise is done

The bulk rise is the first fermentation, before you divide the dough. You are looking for two things: a real increase in volume, and a dough that feels relaxed and slightly pillowy when you press it with a floured finger. If the indent springs back fast, it needs more time.

Time is a guide, not a rule. A warm kitchen speeds things up, a cold one slows them down, and a humid day changes the surface. The book tells you what to look for by feel, which matters more than any timer. Start checking early the first few times you bake.
Cold proof

Cold proof: slow, cold, and worth the wait

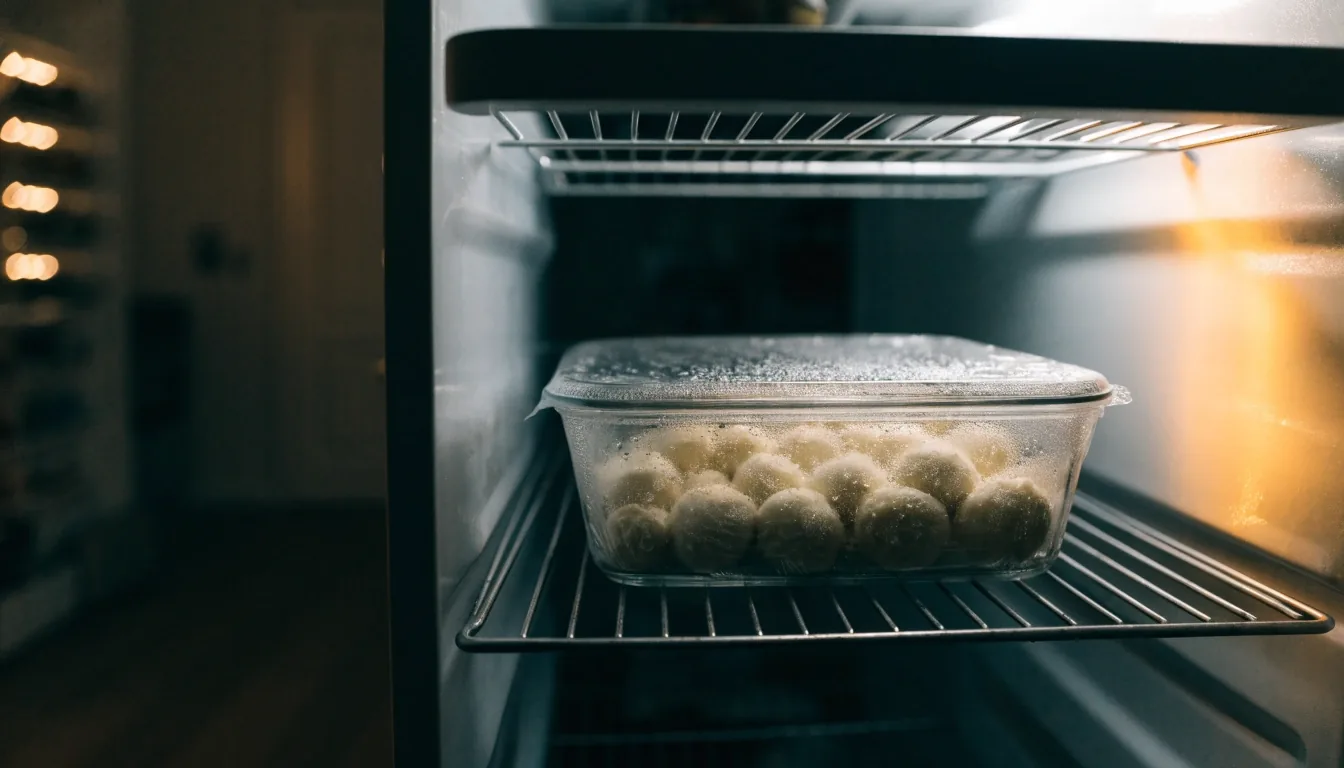
Cold proof means letting the divided dough rest in the refrigerator for a day or more. It builds flavor, makes the dough easier to stretch, and gives you flexibility about when you actually bake. A batch started on Thursday can go into the oven on Saturday afternoon.

A temperature-controlled proofing box helps if you want more predictable timing. A normal refrigerator works fine. Plan ahead and cold proof is nearly free: the only cost is the counter space you give up overnight.

Containers of pizza dough balls proofing overnight on a shelf inside a home refrigerator

Stretch and fold

Building strength without kneading

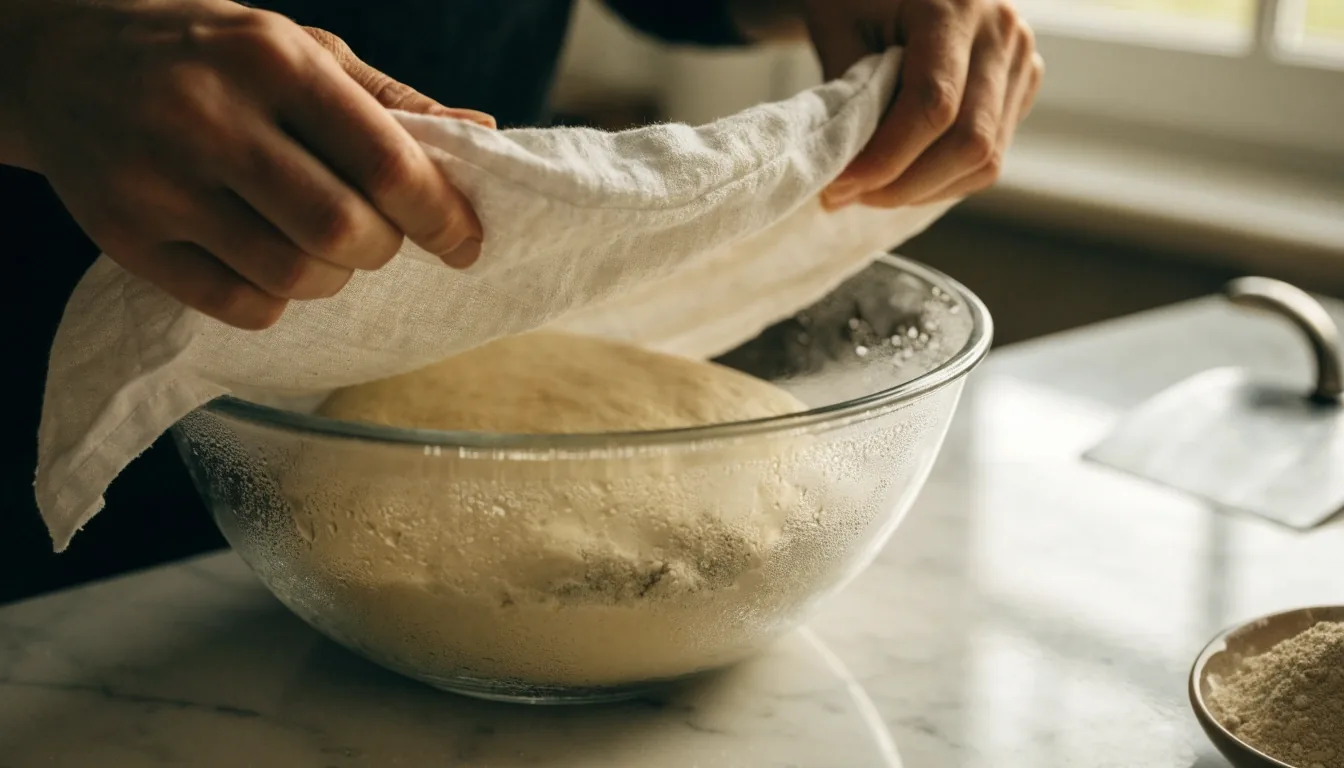
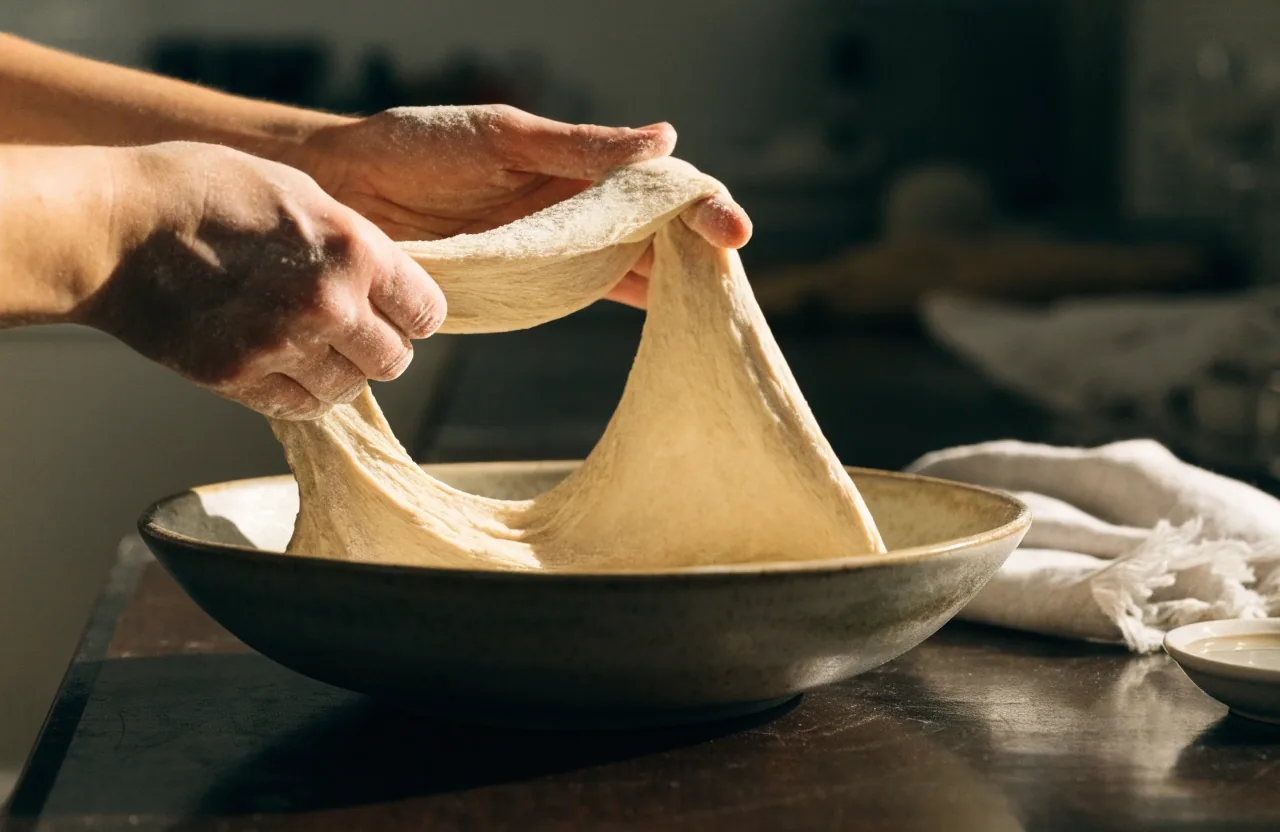
Hands folding a stretch of pizza dough over itself in a ceramic bowl during the bulk rise
01

Stretch and fold is a technique for building dough strength by folding the dough over itself at intervals instead of kneading continuously. It is gentler on the dough and much easier on your hands. You do a few folds during the bulk rise, letting the dough relax in between, and it tightens up on its own.

02

Wet your hand or dip it in a little water first so the dough does not stick. Lift one side, stretch it upward, and fold it over the center. Rotate the bowl a quarter turn and repeat, usually four folds around the bowl. Rest the dough for twenty to thirty minutes, then do another set if the recipe calls for one.

03

This is how most of the doughs in the book are built. Once you have done it a few times it takes less than a minute per set, and the dough becomes noticeably smoother and easier to shape.

A hand sliding a stretched round of pizza dough onto a hot baking steel with a wooden peel

Shaping

Shaping without tearing

Shaping is where a lot of home pizzas go wrong. The instinct is to reach for a rolling pin, which crushes the gas you spent hours building. Instead, press the dough from the center outward with your fingertips, leaving the outer rim alone, then let gravity do the stretching over your knuckles or the back of your hands.

If the dough springs back and refuses to widen, it needs more rest. Give it ten minutes under a cloth and try again. That pause fixes more shaping problems than force ever will.

Heat

Stone, steel, and what your oven can do

A baking steel or a pizza stone helps you get a high-heat bake closer to what a real oven produces. Preheat it thoroughly, usually for at least 45 minutes, so the surface is genuinely hot rather than just warm. That preheat is the step most home cooks skip.

Most home ovens top out around 500–550°F, which is well below a wood-fired floor. The book explains how to get the best char you can at the temperature you actually have, and a short broiler at the end helps with blistering. Keep an eye on it: at that heat, a minute is a long time.

Common mistakes

The five things that go wrong first

None of these are hard to fix once you know they are the problem. If your last few pizzas came out dense or pale, one of these is almost certainly why.

01

Volume instead of weight

Cups of flour vary by how the flour was scooped. Weigh it in grams and the same recipe works every time.

02

Skipping the rest after shaping

Stretched dough needs ten minutes under a cloth to relax. Bake it immediately and it snaps back on the peel.

03

Overloading a thin dough

Too much sauce and cheese adds weight the crust cannot carry. Start lighter than feels generous.

04

Not preheating the stone long enough

Give it at least 45 minutes at full heat. A stone that is only partly hot produces a pale, dry base.

05

Opening the oven to check

Every look drops the temperature. Use the oven light and the window instead, at least for the first few minutes.

Questions

Dough questions home bakers ask

Short answers to the things that come up most often once you start working through the book.

How long should cold proof actually last?

A day is the usual minimum, and two or three days is where the flavor really shows. Past four days the dough starts to break down and gets slack. The book notes the range for each formula, so check there before you plan.

Do I need a proofing box?

No. A normal refrigerator and a kitchen counter are enough. A controlled proofing box makes timing more predictable if you bake on a fixed schedule, but it is not required for any recipe in the book.

Why does my dough keep tearing when I stretch it?

Usually it is under-developed gluten or not enough rest. Work through another set of stretch and folds, or simply leave the dough covered for ten minutes. Tearing almost always means the dough needs time, not effort.

Can I make the book's recipes without a baking steel?

Yes. A preheated stone, a heavy cast-iron pan, or even an upside-down sheet pan will work. The results differ in how quickly the base sets, and the book explains what to adjust when you are working with less heat than a purpose-built pizza oven.

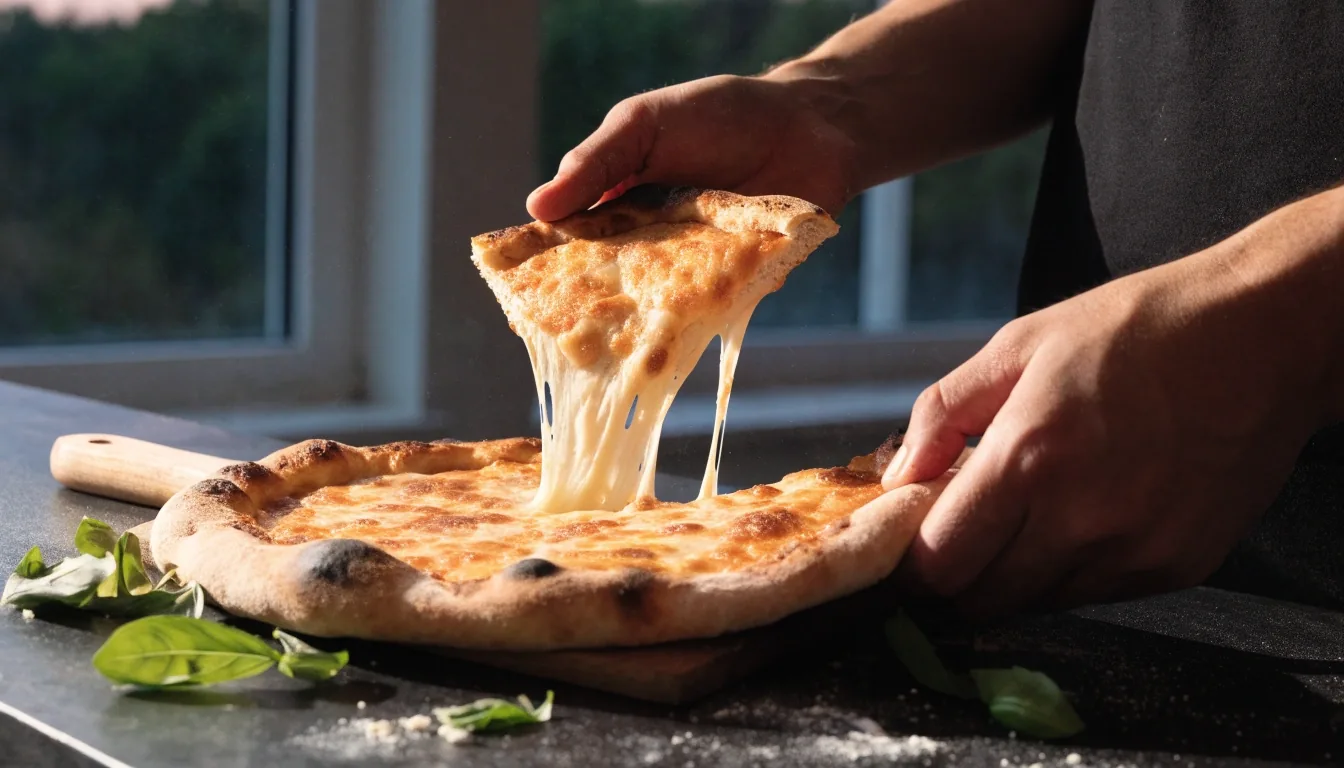
A finished round pizza with a blistered crust resting on a wooden peel on a dark counter

Ready to put this into practice?

Start with a same-day dough from the book, work through the folds, and give it a cold proof on the next batch. The recipes are written so the first attempt still eats well while you get a feel for the dough.

Questions before you bake? Write to [email protected] or call +1-415-555-0726 during kitchen hours.